
Are you prepared to employ for centerpiece creation? To provide you with amazing design ideas, we love to collaborate with professionals and share brilliant ideas! Therefore, if you doubt your ability to make your designer centerpiece, we can assist!
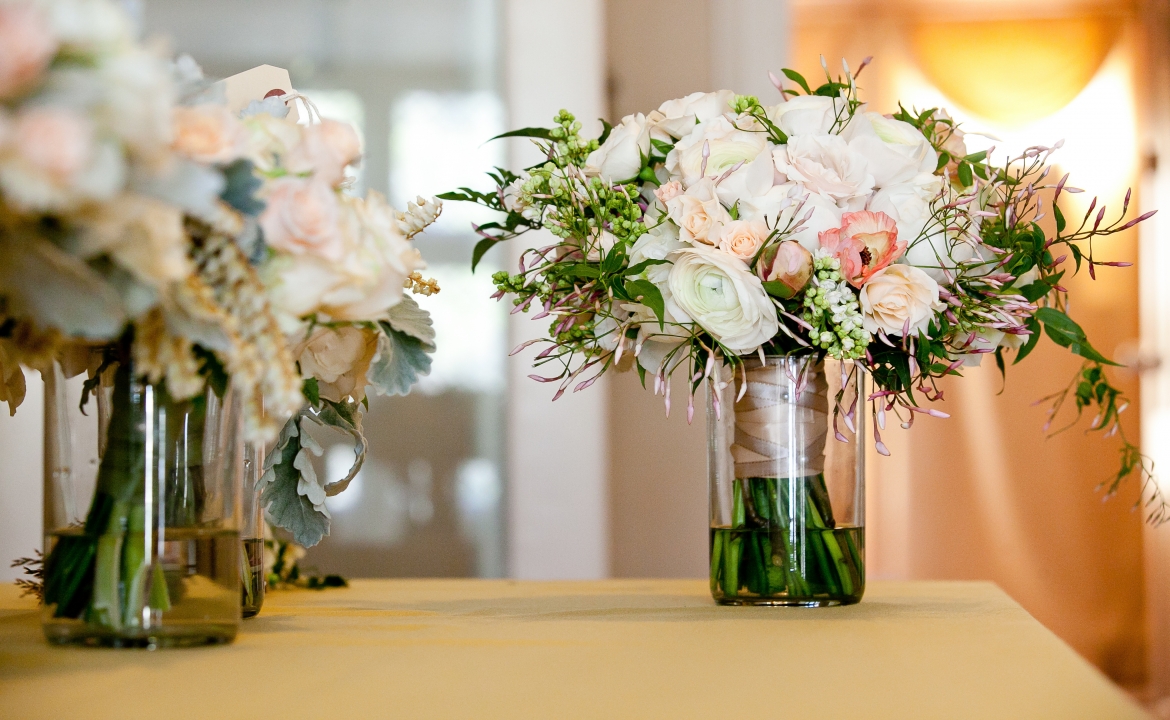
You realize you need a centerpiece as you are preparing for a function, party, or simply sprucing up your dining room table. Often, the thought of making a centerpiece for someone who is not a design expert automatically fills one with dread. Do not worry any longer! You can make different centerpieces over and over again with just a few inexpensive items. The base for making original centerpieces is cylinder vases. They have various diameters and heights, are affordable and are stylish.
You can fill them with anything you like, including flowers, candles, and seasonal favorites!
Without doing any labor on your part, adding dimension to your centerpiece is as easy as using a set of graduated-size cylinder vases! A surefire technique to ensure you can quickly create centerpieces is to get a set of cylinder vases! You will master the art of making centerpieces by viewing this video and keeping this helpful how-to guide nearby! We collaborated with Curly Willow Designs and their talented designer Joel Kirby to show you how to quickly and easily make a centerpiece with a few essential components!
To get Started you will need:
Set of 3 Cylinder Vases
Filler (Flowers, Greenery, Marbles, etc.)
Floating Candles
/sq-199281c9d7d54a18b88b75454149044b.jpg)
Step 1:
According to your preference, fill your cylinder vases bulk with water to the desired level. Avoid filling the vase with too much water because you’ll be adding filler, which will cause the water level to rise. If you plan to use a candle, make sure it will fit completely inside the vase when it is lit. After filling your vase, you’re ready to move on to Step 2!
Step 2:
Find the ideal augmentation to place in the water! Joel is all about using things in your environment, which is something we adore! It’s so easy to choose greens from your garden or yard. You just need to cut the vegetation to the necessary height—which will be equal to the height of the water—after selecting it from your yard or the market. Put the greenery carefully into the vase. The vivid greenery immediately adds texture to the already existing height dimension! is yet another excellent choice for filler. You can go on to your final stage now that your foliage is in place.
Step 3:
To finish off your design, pick a color for your floating candle. What we adore about the video is how the purple and green contrast to providing your centerpiece a rich and elegant appearance. Hold the floating candle by the wick and carefully lay it on top of the water, being careful not to get the wick wet, to guarantee proper burning of your floating candle. You can’t go wrong when you use floating candles and greenery, which is one of their best features. Any color you decide on—whether it’s your favorite, your school’s, or the color you’ve selected for your event—will look stunning, and your guests will like the lovely centerpiece! And you don’t even need to mention how simple it was to make for them! It’s simple to make your AMAZING centerpiece, which will amaze your guests.